We are on a furniture-building rampage! After the success of our dining room table, we have been looking around the house for anything else we can build. I feel like every nook of our house could soon be filled with handbuilt furniture. Just because we can.
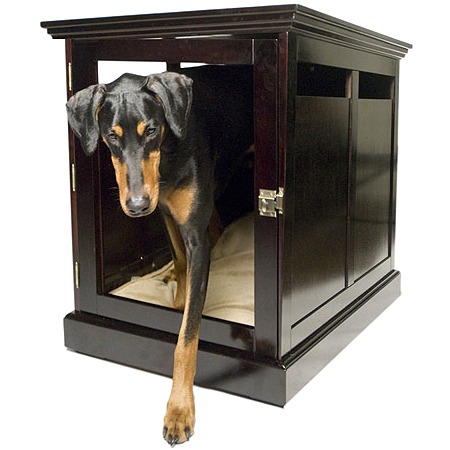
So the next project was inspired by this photo, from a “doggie” themed sale at Joss & Main:
Oh la la. Very swanky. And even on sale it’s $450 (and that’s for the small size!). I love my dogs, but I don’t think they’d appreciate a fancy $450 crate. Plus I have two dogs, so that means nearly $1,000 for nice wood crates. Not happening. But it would be nice to have something better looking than the standard plastic crates we use now — the dogs like to hang out in their crates, but we don’t like to have the ugly plastic crates front-and-center in our house. So they get relegated to the basement, which makes the dogs sad.
So of course I popped over to my favorite furniture plan site, www.ana-white.com and hoped she had a plan for a dog crate — success, she did! Man, I love that website. The only issue was that her plan was for a very large crate, so with a mini dachshund and some type of terrier mutt, we had to scale down the measurements a bit.
There are only so many ways I can show measuring, sawing, and joining (steps which are better illustrated on Ana’s site, anyway), so I’m going to skip right to the good stuff:
Here are some pieces (sides and back), ready to be assembled into the final crate:
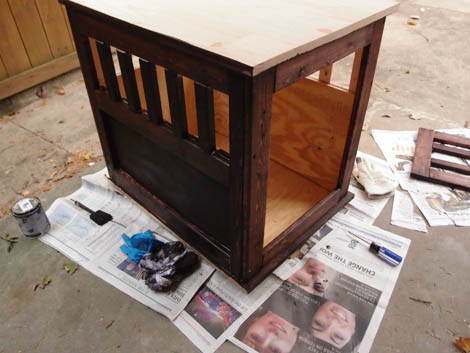
And here’s the (unfinished) crate. BAM, instant doggie home!
I wanted to stain them a dark mocha color, to make them look a little richer. Fortunately, we had some “Java” gel stain leftover from our gel-staining oak cabinets project. Unfortunately, we were using very, very, very poor quality wood, and it did NOT take the stain well. Only the top of the crate was made with “stain grade” wood, so we stained that part and decided to paint the rest.
After weighing the pros and cons of painting it a wood color, I decided that if I was going to paint it, I might as well paint it a nice bright color. There really isn’t much logic there, it’s just what I was feeling at that moment. And I was also feeling lazy, so I went with spray paint.
I gave it two coats of what I’d hoped would be a nice sunny yellow (and I would have needed at least 2-3 more to get full coverage), before declaring it a bust.
Since I was already down the painting rabbit-hole, I looked around in my basement and came upon a $3 tester of an avocado-y green color. What did I have to lose? Just a bit of time. Fortunately, attempt number three was just the ticket — I was happy with the less-obnoxious color, but still got a bit of brightness that I wanted.
And Madison seems to be ok with it, too. (We also made a second one for Alex the dachshund)


Reblogged this on charmcitycreativedesigns and commented:
Great idea
Thanks for sharing!